How To Register an Application
This flowchart is an overview over the netECM:App Application registration process. The details of each step are documented below.

Start Wizard
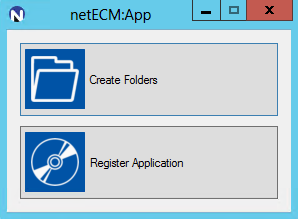
When netECM:App starts there are two options available:
- Create Folders: The required directories for netECM:App can be created for a new application.
- Register Application: An already prepared application can be registered in SCCM.
In this How To manual we will choose Register Application.
SCCM Site
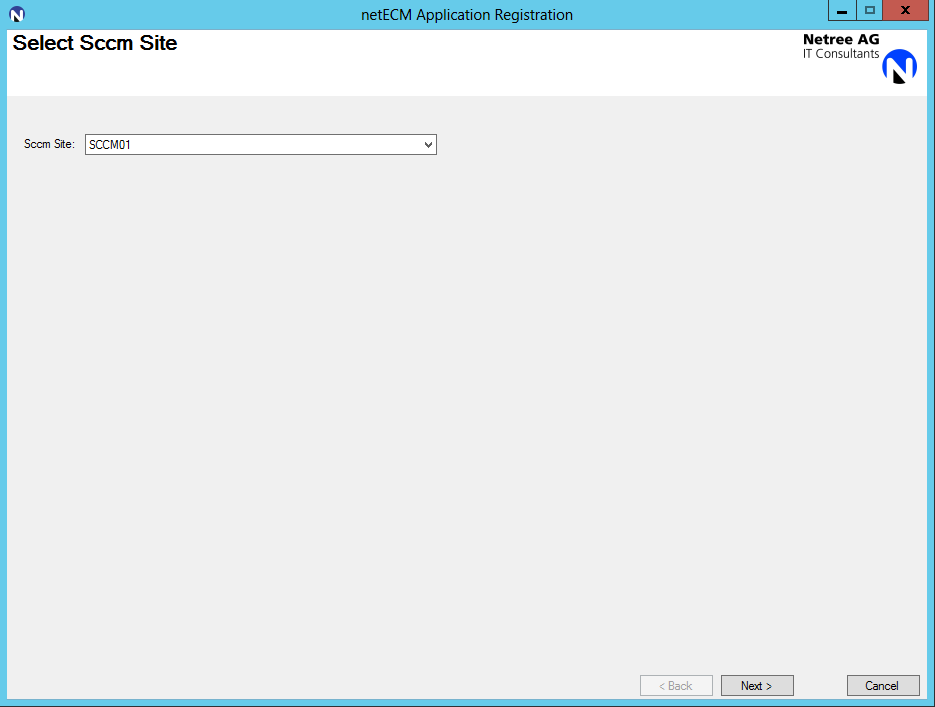
On the first screen of the netECM:App Register Application you can choose the SCCM server on which the Application should be registered. These Server List can be configured over the XML Syntax netECMApp.exe.config.
Application
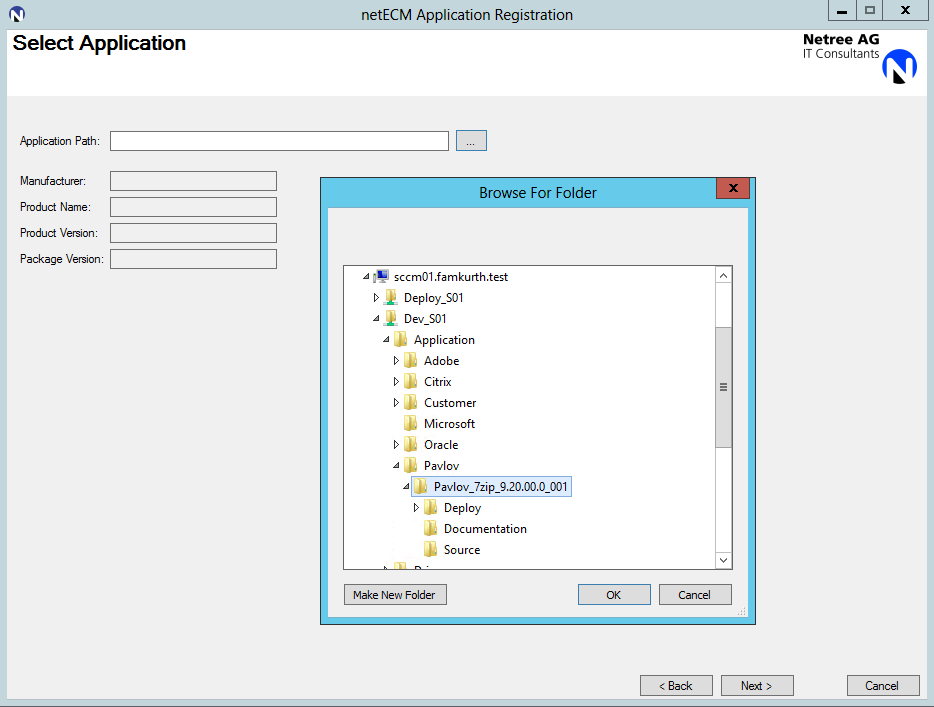
After the site is chosen, the application has to be selected. It is very important to always work on the development share, never on the deployment share. Therefore the application has to be selected with the UNC path to the development share (i.e. \<Servername>\Dev_<sitecode≶). The folder needed is the uppermost folder of the application, directly under the manufacturer folder.
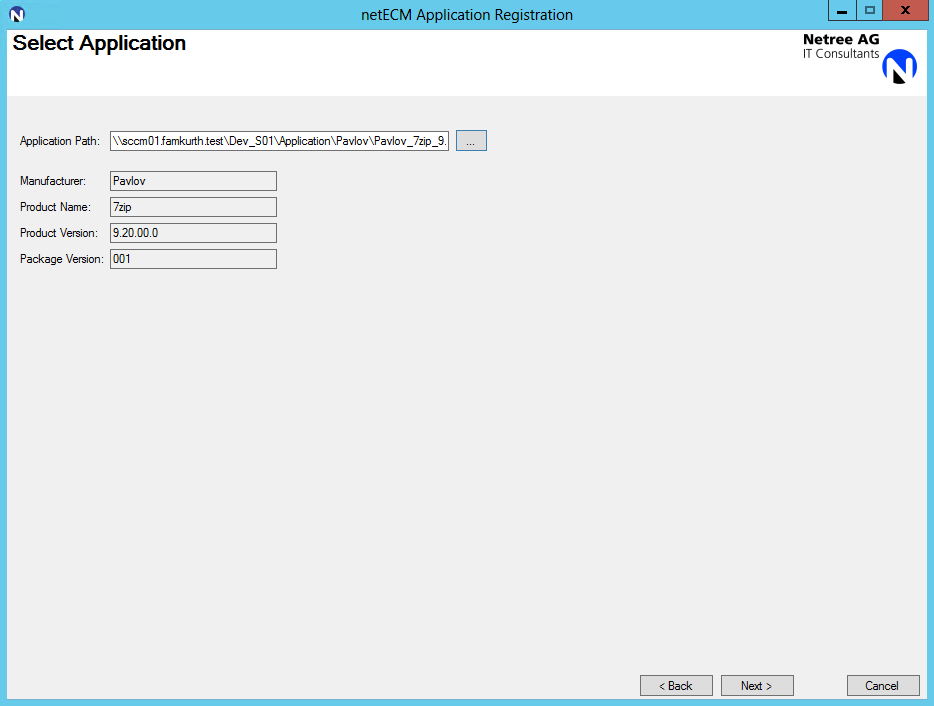
The fields for manufacturer, product name, version and package version are filled out automatically, according to the folder name of the application.
Deployment Types
If there is more than one deployment type found in the package, netECM:App creates a tab for each deployment type.
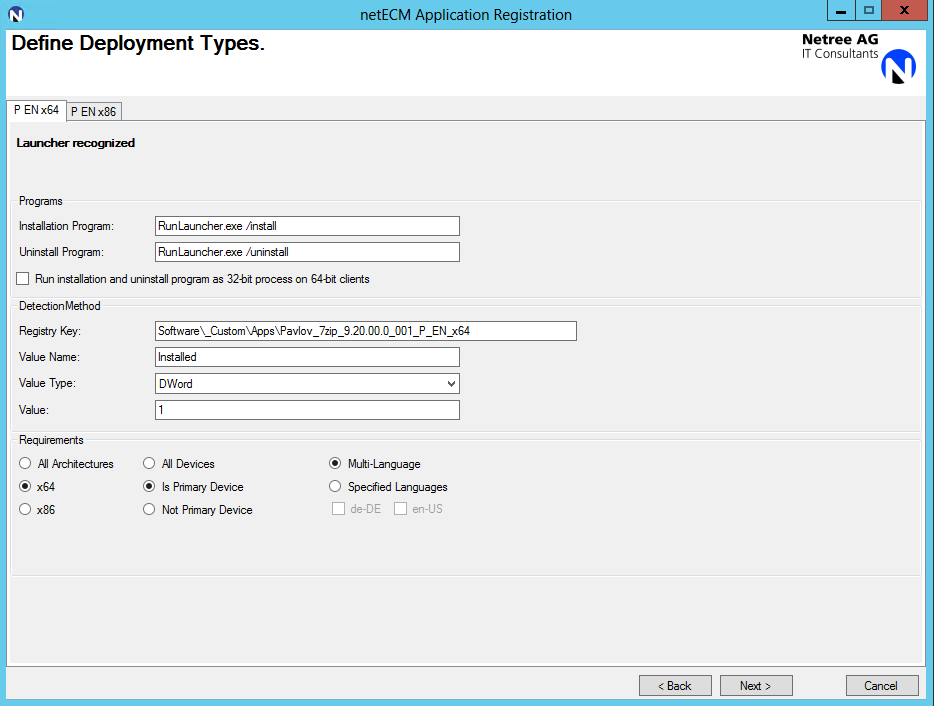
If the netECM:Launcher is in use, the LauncherConfig.xml gets scanned and the information given in the header is written into the corresponding fields, as seen above for the Pavlov 7-Zip. netECM:APP scans the folder also and checks the LauncherConfig.xml file, so that it correspond with the folder structure and the naming concept.
Without Netree netECM:Launcher the information has to be filled in manually, increasing the required amount of time a bit.
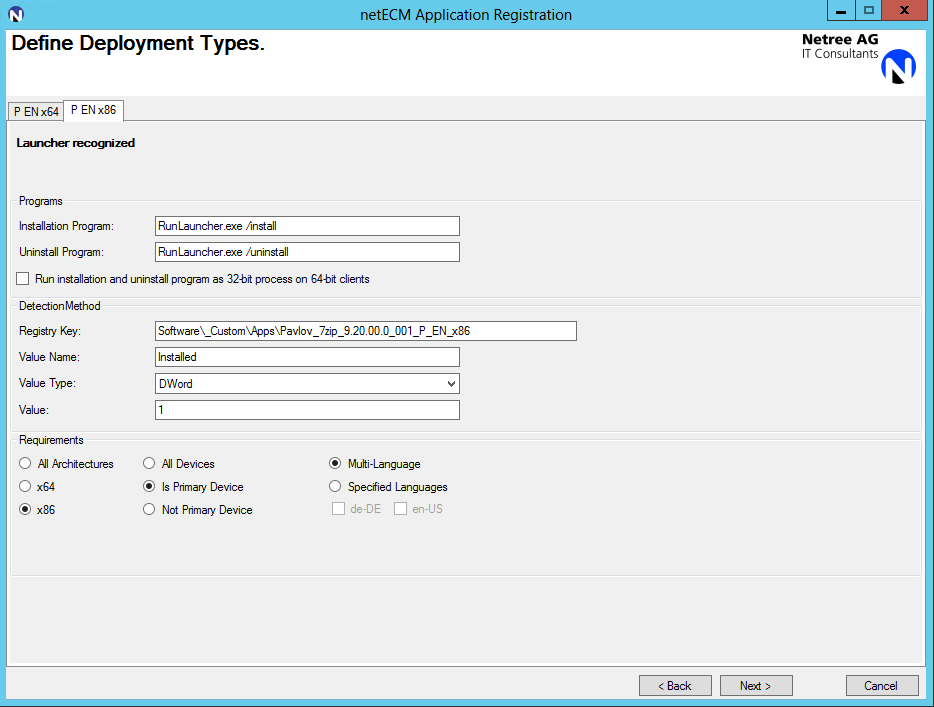
At the top of the window are the tabs for each deployment type. Directly underneath are the commands used to install and uninstall the application.
The detection method is used by the netECM:Launcher and Configuration Manager to detect whether or not the application is already installed. With netECM:APP you can only detect an application over one registry key. If you need more complex queries you should do that after the registration directly in the SCCM Console Lastly, the most often used requirements for the package can be set here as well. If the language is set to English, for example, the application will only install on English operating systems. Multilingual means, that the application gets installed on an operating system of any language.
Pavlov 7-Zip has two deployment types. The 32-Bit version of the application should only be installed on 32-Bit windows, therefore the requirement x86 is set. On the tab for the deployment type P_ML_x64 the x64 requirement is set.
Collections
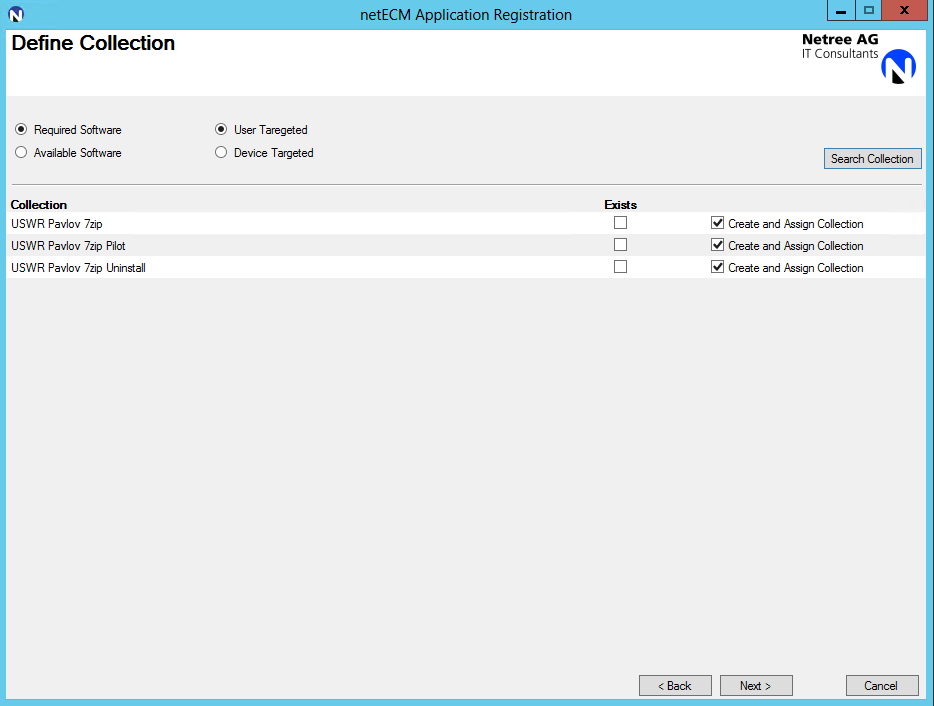
As another benefit of netECM:App, collections for the application can be created while registering the application, decreasing the required amount of time for application registration even further. The collections can be for required or available deployments, as well as device or user targeted. With a click on the Search Collection button the collections get displayed. If collections for the application already exist, the collections can be reused. This makes sense, if an existing application gets a new package version with changes to the installation. Otherwise netECM:App creates the desired collections for the application automatically. It's also possible to display here the whole application lifecycle state like integration, test and production. Individual states can be configured in the XML Syntax netECMApp.exe.config. The creation of collections can be skipped by not pressing the search Collections button. If the button gets clicked the displayed collections can just be unchecked and no collections will be created.
Supersedence
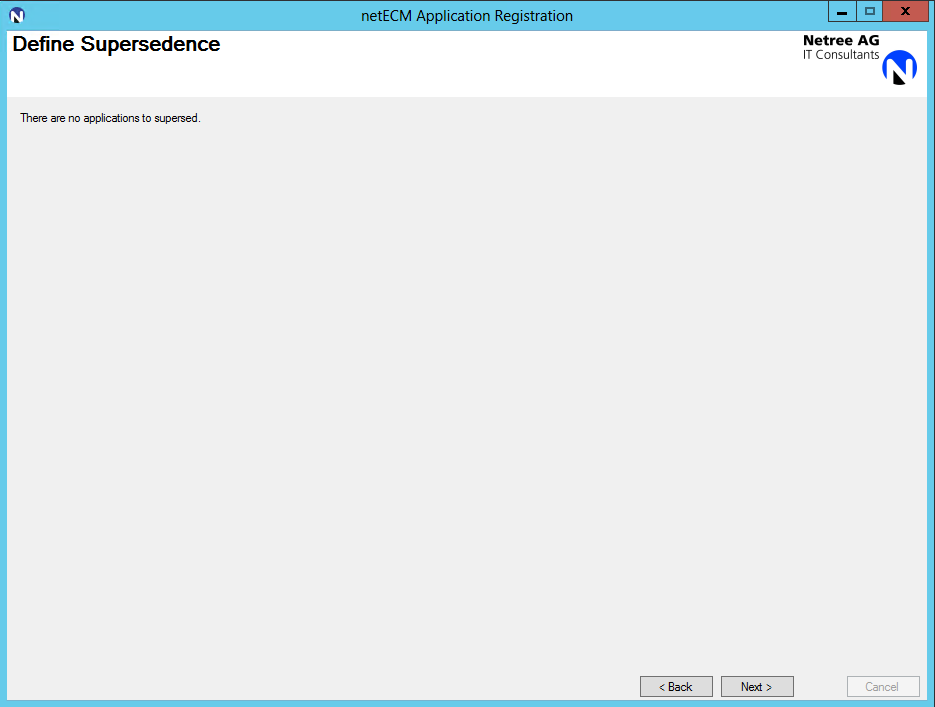
Supersedence is for new versions of existing applications. When there is an older version of the same application already in SCCM, it can be defined here, that the old version gets uninstalled, rather than the new version just being installed on top of the old.
Summary
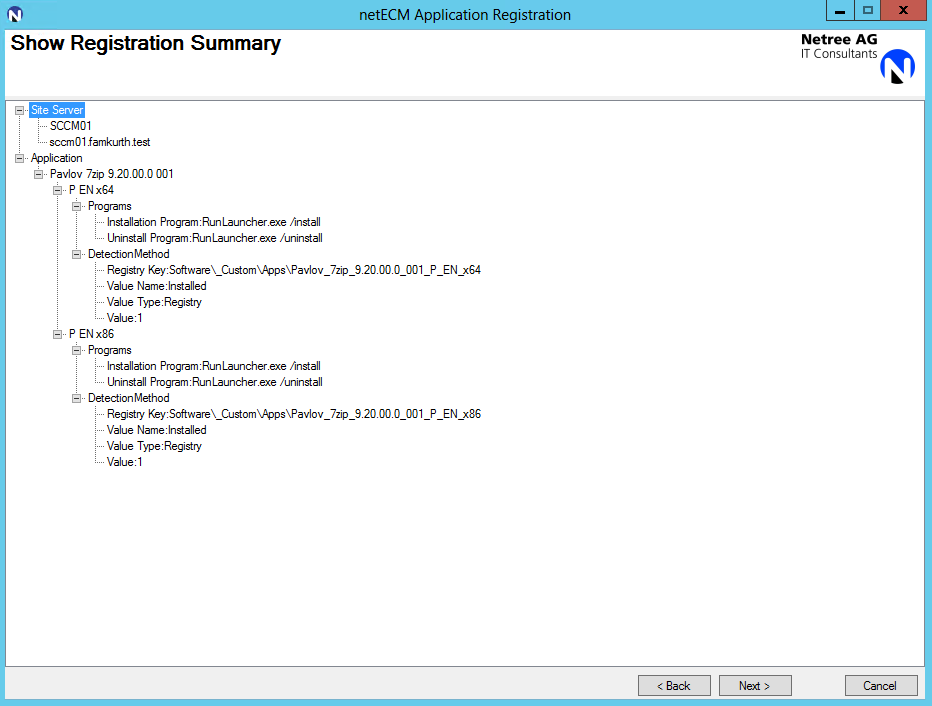
Before the registration occurs, the user has the possibility to check the chosen options once more. From here, the user can go back and change options that are not correct, after this screen it's not possible anymore.
Register
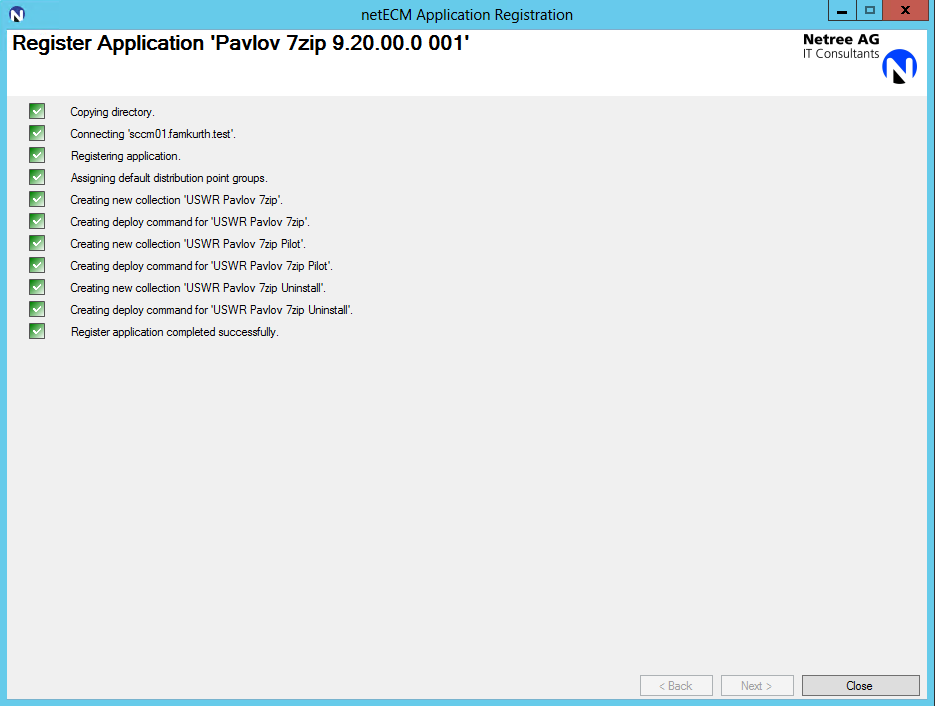
netECM:App registers the application with SCCM and shows what is done. Once everything is green the process is completed and the netECM:App Register Application wizard can be closed again by clicking the Close button.
Application Icon
If an icon for the application is required. The file must be located in the folder called 'Source' in the development directory of the application. Supported file types are ICO, PNG, JPEG, GIF and TIFF. If multiple images exist in the folder, the first one is used.
Result
The application is created with all the specified settings and is deployed to the distribution points.